Do you have special New Years Eve traditions? Since our daughter just turned 5, we haven't really done anything special thus far. We always bake these cookies but she's been too young to stay up late. And to be honest, when it's night time it's time for her to go to bed. For my sake! This year, though, I think it's time we do something special. Maybe it's because she's older or maybe because this year's holiday season has flown by already and it's my last attempt to hold onto the magic of the holiday season! Whatever it is, we're going to decide on and start some traditions. Our first is to make a New Year's Eve Noisemaker Craft using a traced handprint. Then, when it gets closer, we'll choose a few more ideas from this list of fun New Years Eve ideas!

I remember, when my sister and I were young, banging on pots and pans. Plus my dad had this plastic red horn my dad got from a college football game. We would bang on our pots and pans and blow the horn as loud as we could. That was until our parents couldn't handle it anymore. This year, I thought, since it's my daughter's first year trying to stay up to see the ball drop, we would make a noisy handprint craft. Then as the years go on, we can see how much she has grown. That won't matter much to her now, but the noise maker part will be exactly what she needs to ring in the new year with a bang. If you like the sentimental crafts like I do, try this Handprint Calendar Keepsake!
Handprint New Year's Eve Noisemaker Craft Tutorial
*This post contains affiliate links. You can read more about our disclosure policy here.
Supplies Used:
- Empty Cereal Box (Or Other Cardboard)
- Something To Write With
- Children's Washable Paint
- Paintbrush
- Glue
- Sequins

- Jingle Bells
- Large Craft Stick or Paint Stir Stick
- Hot Glue and Glue Gun


How we made the New Year's Noisemaker:
The first thing I did was cut down one side of a cereal box, so that it could lay flat. Next, I traced my daughter's hand on the inside of the box.
Because the box is pretty thick, and we don't have SUPER good scissors, I cut the cardboard myself. If it had been paper I would give it to my daughter for her to practice, but I decided this would be safer if I did it.
While I was doing this, my daughter painted the paint stir stick. When I finished cutting out the hand, we painted that as well.

Then, we worked together to glue on all of the sequins. White glue would work perfectly but since we had it out already we used our hot glue gun. Kids can do this themselves with supervision, but I do recommend using a hot glue gun with a low temp setting. We followed the outline of the hand and glued sequins around all of the edges. Our sequins came with these FUN snowflakes that we just had to include, so we glued one on.
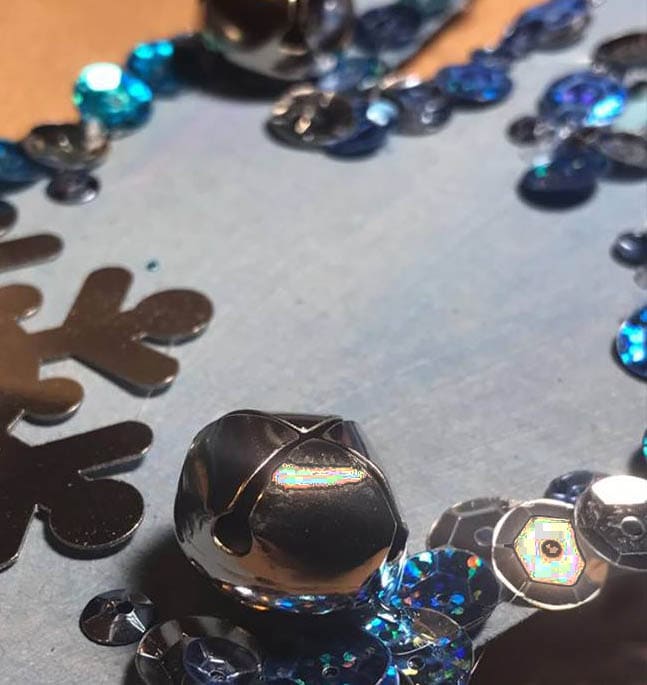
The next step is to glue the jingle bells on. This is the only step that is crucial to do correctly. You want the bell to stay in place, but you don't want the bead inside the bell to get attached to the glue. So what I did was put a dab of glue on the cardboard and place that on the bell upside down. That is probably super confusing!
Let's try this a different way....
.... hold the bell in one hand, cardboard hand with glue dot in the other, place cardboard over bell to attach. Hold in place for a moment to let glue dry. Now the ball inside is still free to move around and make noise!
When the hand was completely decorated, we glued it on to one end of the paint stir stick. Then it the New Year's Eve noisemaker was complete!

It's a perfect prop to add to a New Years Eve Photo Booth too!
Playing with the HANDmade Noisemaker
My daughter asked me to put on 'her jam.' She danced around, clanging her New Years Eve noise maker to the beat of the music. She loves it. It was simple and fun to make and the best part is it's sturdy. It's not a DIY toy that I am afraid she is going to ruin before the big day. It's cardboard and wood essentially. Maybe this one will last us until next year when we can repeat our new New Years Eve tradition!
Thanks for joining us for our DIY New Year's Eve Noisemaker tutorial!