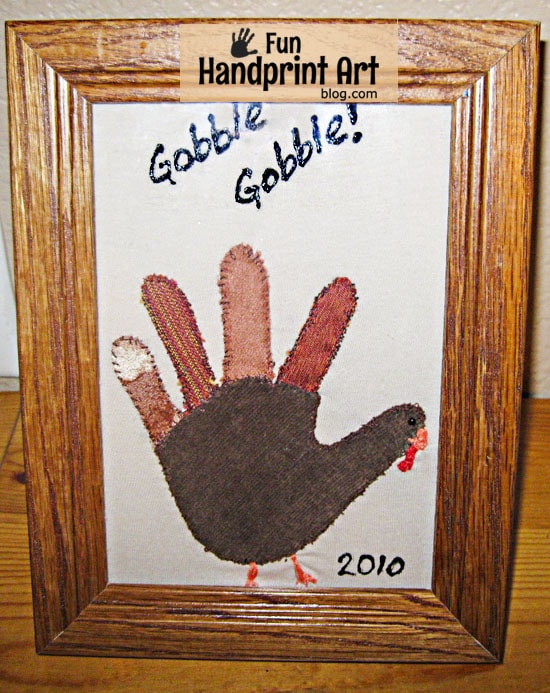
I think this turkey hand applique keepsake picture turned out so cute! It will also be a fun Thanksgiving decoration that we can display every year.
How to make the Framed Turkey Hand Applique Keepsake
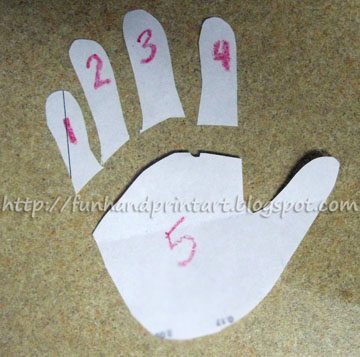
I started by making a template of my son's hand. I cut the fingers off so that I could make those a different material than the turkey's body. The material that I used was an old pair of brown corduroys and scraps of fabric.
This was my 1st time using Heat n Bond; it was simple to use. After choosing the fabric you want to use for the turkey, place the wrong side of the fabric up and then place the HeatnBond Lite paper on top of it with the smooth side up. Your iron should be preheated to the silk setting. Press the iron over the paper for 2 seconds (I did longer) until you have glided over the entire area.
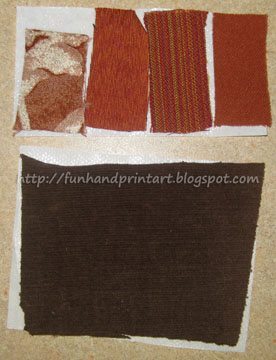
The above picture is what ours looked like when I flipped it over and before peeling off the backing. I chose to use 4 different fabric scraps for the fingers (feathers).
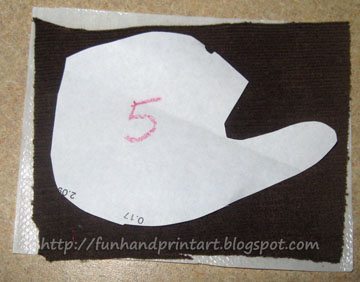
Next, I got out our handprint template, placed the pieces on top of the corresponding fabric, and then cut around it. It is easier to cut the fabric with the HeatnBond on it because it becomes stiffer.
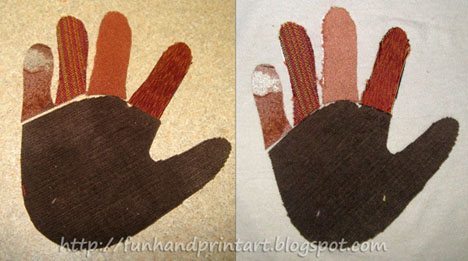
After all the pieces are cut, peel off the paper backing. I laid my cut pieces out to see how it looked and then ironed one piece on at a time to the fabric I chose to use as the background piece.
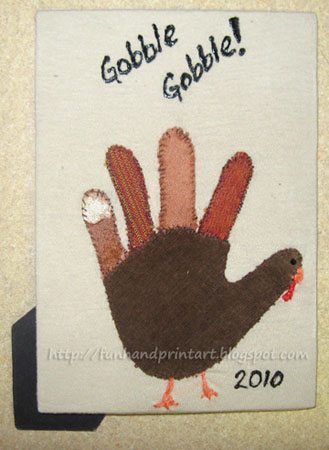
Around the turkey, I stitched brown thread (I did this by hand but if you are a sewing pro, you could use a sewing machine). I also stitched on a beak, wattle, and feet. I used black fabric glue to make the eye and to write the "Gobble, Gobble!" and the year. To finish, I stretched the fabric around to the backside of a picture frame and glued it.
Now it's ready to be displayed every year!
The finished handprint turkey applique keepsake picture. My little guy loves it!
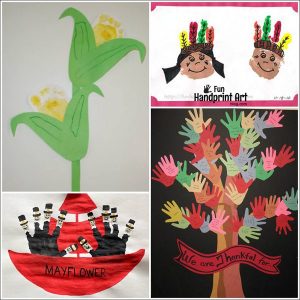
Find More Thanksgiving Ideas Below: