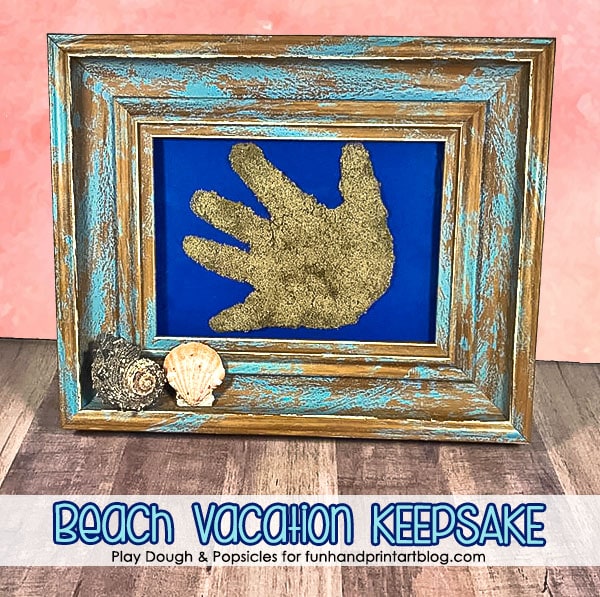
We currently live in the Midwest. I don't mind it most days, but sometimes being landlocked is suffocating. After growing up in Seattle, showing my daughter the beach has always been a goal of mine. Seeing the ocean and playing on the beach is something that everyone should experience, at least once in a lifetime. I'm hoping since she is so young we can experience the beach many more times, but just in case, I wanted to make a sandy beach keepsake. The idea was formed and it turned into this unique Framed Sand Handprint!
Our beach vacation was in California. I'm sure the East Coast has some fabulous beaches as well, but I grew up on the West Coast and that is where my heart lies. We ended up choosing Huntington Beach and it was perfect. The sun was warm, the sand was soft and water was exactly as I remember. My daughter built her first real sand castle, got knocked over by the waves and spent an afternoon smiling from ear to ear. It was a dream come true for both of us. Something we will both remember forever!
Framed Sand Handprint Beach Craft Tutorial
I honestly wasn't too sure this project was going to work out while I was dreaming it up in my head. But you know what? It did! Here's how we made our framed sand hand keepsake:
Supplies:
- Glue Stick and White Glue
- Cardstock
- Sand
- A 5x7 Picture Frame or Larger
- Sea Shells (Optional)
Instructions:
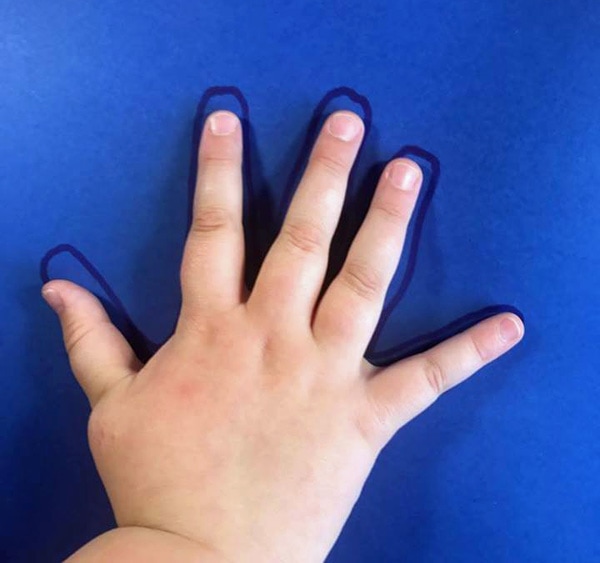
1. I started by tracing my daughter's hand on a piece of cardstock. Be sure to use thick cardstock to ensure it's sturdy enough to hold the somewhat heavy sand.
2. After tracing her hand, I cut along the lines so that only her traced hand was left. For the next steps, I placed it on a cookie sheet to help contain the mess.
3. Then, I covered the traced hand cardstock cutout with a glue stick. I slabbed it on good too. Every inch of the hand was covered in glue!
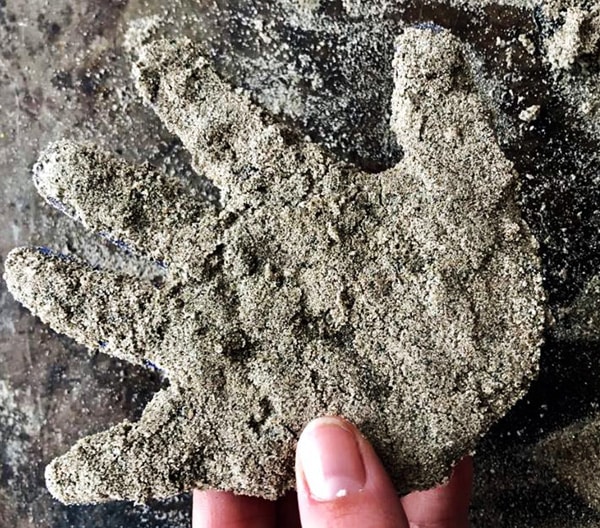
4. Next, I poured sand onto the glue. I pressed this first layer down so that it would really stick to the glue. I was afraid that it was going to just fall off. Pressing it down, I think, was a crucial step.
5. For the next layer, I added some white glue. I didn't want it to be too saturated with white glue, so I drizzled it on lightly and used my finger to spread it across the sand. Then I loaded another layer of sand onto the white glue. I did not press that layer down.
6. I let the handprint relax outside for about 5 hours.
After the 5 hours, to my surprise that sandy, gluey handprint was solid. It felt like playdough when it's accidentally left out. I was so excited and relieved that my idea had actually worked! Some of the top layer did flake off easily so try to be careful with that, but for the most part, it was solid!
I took an extra piece of cardstock and cut it to the size of the frame. Next, I placed the handprint in the frame and quickly, but carefully secured the back on. It barely fits, but the pressure is perfect for keeping the sand in place.
For a finishing touch, I took a few shells that we had collected and set them on the frame to add to the memories. These could be hot glued if you wanted them to be secured in place.
Now it is sitting in our home helping us remember our awesome vacation to the beach! When we just can't look at corn fields anymore, we can remember the wonderful beach vacation and the fun that we had together.
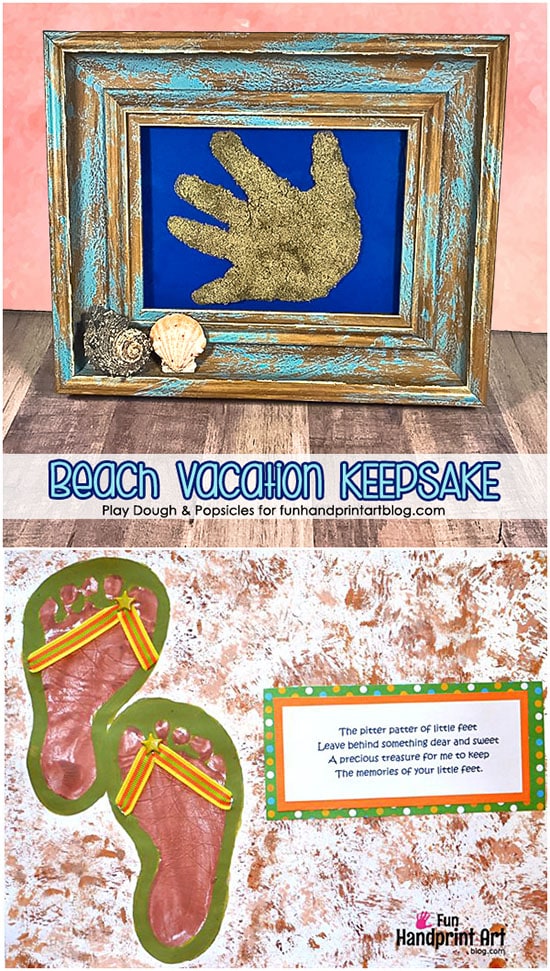
For another beach themed craft like this framed sand handprint, check out this adorable footprint flip flops idea!


